Page 1 of 1

bbq smoker ready for painting

PostPosted: 03 Nov 2013, 10:32
by highonthehog
http://s94.photobucket.com/user/di-neil ... sort=3&o=0
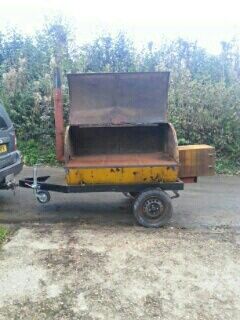
Diy offset smoker ready for painting :D, only taken a year :cry:

Re: bbq smoker ready for painting

PostPosted: 05 Nov 2013, 09:18
by noxskuses
Image

Looks good. Don't forget an 'after' photo once you've tarted it up.

Re: bbq smoker ready for painting

PostPosted: 05 Nov 2013, 22:14
by highonthehog
Will do, should be shot blasted and sprayed in the next few weeks, mud gaurds waiting in the lounge. Need to sort out some effective way to monitor temperature
Neil

Re: bbq smoker ready for painting

PostPosted: 15 Jan 2014, 11:02
by highonthehog
Still waiting for the weather to improve before we can blast and paint, but have installed a gas bar to insure correct temp maintained
N

Re: bbq smoker ready for painting

PostPosted: 30 Sep 2014, 20:59
by highonthehog
just got round to updating photos,been very busy doing hog roasts.Need to put on mud guards and seals, had it alight ok
Image

Re: bbq smoker ready for painting

PostPosted: 01 Oct 2014, 05:47
by JEC
Nice turn around. Did you buy it wanting to do events or did you get it and think you'd better start doing events?

Re: bbq smoker ready for painting

PostPosted: 01 Oct 2014, 09:32
by highonthehog
Just wanted to experiment, I had built a large coldsmoker and a couple of gas spit roasters ( which i use for events ) but had only messed around doing stuff on the weber. I do a party once a year for the locals and wanted to do ribs, pork and brisket and this is the result, if it works well I might take it to some local steam fairs :D